Welcome to the Honeywell Pro 3000 Installation Manual! This guide provides a comprehensive overview of installing, configuring, and maintaining your Honeywell Pro 3000 thermostat․ Designed for ease of use, this manual ensures a smooth setup process for your non-programmable digital thermostat, helping you optimize heating, cooling, and energy efficiency in your home․ With clear step-by-step instructions, you’ll be able to install and enjoy your Honeywell Pro 3000 thermostat effortlessly․
1․1 Overview of the Honeywell Pro 3000 Thermostat
The Honeywell Pro 3000 is a non-programmable digital thermostat designed for simplicity and efficiency․ It offers precise temperature control, compatibility with various HVAC systems, and seamless integration with smart home setups․ This thermostat is part of the PRO TH3000 series, catering to 1 Heat/1 Cool or 2 Heat/1 Cool systems․ Its user-friendly interface and advanced features make it ideal for regulating home temperatures effectively while ensuring energy efficiency and ease of use․
1․2 Importance of Proper Installation
Proper installation of the Honeywell Pro 3000 thermostat is crucial for ensuring optimal performance, safety, and energy efficiency․ Incorrect installation can lead to malfunction, reduced system lifespan, or even safety hazards․ Following the manual’s guidelines ensures compatibility with your HVAC system, prevents damage to components, and guarantees reliable operation․ Additionally, proper installation is essential for maintaining warranty validity and achieving the desired energy-saving benefits․ By adhering to the instructions, you can avoid common issues and enjoy a seamless, efficient heating and cooling experience in your home․
System Requirements and Compatibility
The Honeywell Pro 3000 thermostat is designed to work with various HVAC systems, including 1 Heat/1 Cool and 2 Heat/1 Cool configurations․ Ensure your system meets the electrical requirements and compatibility standards outlined in the manual for optimal performance and safe operation․
2․1 Compatible HVAC Systems
The Honeywell Pro 3000 thermostat is compatible with a wide range of HVAC systems, including 1 Heat/1 Cool and 2 Heat/1 Cool configurations․ It supports standard heating and cooling systems, ensuring versatility for various home setups․ Compatibility with these systems ensures proper temperature regulation and energy efficiency․ Before installation, verify that your HVAC system matches the specifications outlined in this manual to guarantee optimal performance and safe operation․
2․2 Electrical Requirements
Before installing the Honeywell Pro 3000 thermostat, ensure your system meets the electrical requirements․ The thermostat operates on 24V AC (common household voltage) and requires a compatible wiring setup․ It is powered by two AA alkaline batteries, which are typically included in the package․ Proper wiring connections are essential to avoid electrical hazards․ Ensure your HVAC system supports the thermostat’s electrical specifications to maintain safe and efficient operation․ Always follow local electrical codes and safety guidelines during installation․
2․3 Compatibility with Smart Home Systems
The Honeywell Pro 3000 thermostat is designed to integrate seamlessly with smart home systems, enhancing your home’s automation capabilities․ It is compatible with popular platforms like Apple HomeKit and Amazon Alexa, allowing voice control and remote adjustments․ With Wi-Fi and Bluetooth connectivity, it effortlessly connects to your smart home network․ The thermostat also integrates with Resideo systems, providing advanced features through the Honeywell Home app․ This compatibility ensures a modern, efficient, and convenient home climate control experience․
Safety Precautions
Handle the Honeywell Pro 3000 thermostat with care to avoid damage․ Follow electrical safety guidelines to prevent hazards․ Ensure proper environmental conditions for optimal performance and longevity․
3․1 Handling the Thermostat
Handle the Honeywell Pro 3000 thermostat with care to prevent damage․ Remove the wallplate gently by pulling from the bottom․ Avoid using excessive force or tools that could scratch or break components․ Ensure the thermostat is kept clean and dry to maintain functionality․ Avoid exposing it to extreme temperatures or moisture․ When handling the display, use a soft cloth to prevent fingerprints or smudges․ Proper handling ensures optimal performance and longevity of your Honeywell Pro 3000 thermostat․
3․2 Electrical Safety Guidelines
Always turn off the power supply to your HVAC system before starting installation․ Use insulated tools to prevent electrical shocks․ Ensure all wire connections are secure to avoid short circuits․ Do not overload circuits, as this can cause electrical fires․ Keep batteries away from children and avoid mixing old and new batteries․ Use only AA alkaline batteries as specified․ Never touch electrical components with wet hands․ If unsure, consult a licensed electrician․ Proper adherence to these guidelines ensures a safe and successful installation of your Honeywell Pro 3000 thermostat․
3․3 Environmental Considerations
Proper disposal of the old thermostat is essential to protect the environment․ Recycle the device according to local regulations․ The Honeywell Pro 3000 is designed with energy efficiency in mind, reducing your carbon footprint․ Use the thermostat’s programmable features to optimize heating and cooling, lowering energy consumption․ Ensure the packaging is recycled or disposed of responsibly․ Avoid exposing the thermostat to extreme temperatures or moisture to maintain its longevity․ By following these guidelines, you contribute to environmental sustainability while enjoying efficient temperature control with your Honeywell Pro 3000 thermostat․
Unpacking and Inventory of Components
Ensure all components, including the wallplate, thermostat, wires, screws, and batteries, are present and in good condition before proceeding with installation․
4․1 Components Included in the Package
The Honeywell Pro 3000 package includes essential components for installation and operation․ These items are:
- Thermostat unit with digital display
- Wallplate for mounting
- Wiring adapter for compatibility
- Screws and anchors for secure installation
- Batteries for power supply
- Installation and user manual
Ensure all components are present and in good condition before proceeding with the installation process․
4․2 Verifying All Parts Are Present
Before starting the installation, ensure all components are included in the package․ This step prevents delays and ensures a smooth setup․ Check for the thermostat unit, wallplate, wiring adapter, screws, anchors, batteries, and the installation manual․ Verify each item is undamaged and suitable for your system․ If any part is missing or damaged, contact Honeywell support or your supplier immediately to resolve the issue․ Proper verification ensures all necessary tools are available for a successful installation․
Installation Steps
Welcome to the installation section! This guide outlines the key steps to install your Honeywell Pro 3000 thermostat, ensuring a seamless setup process for optimal performance․
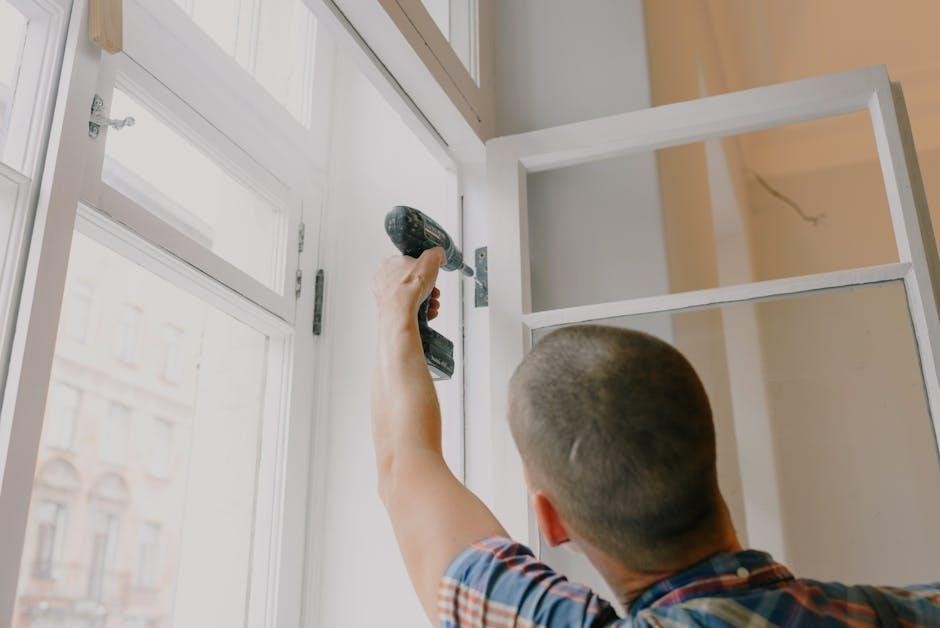
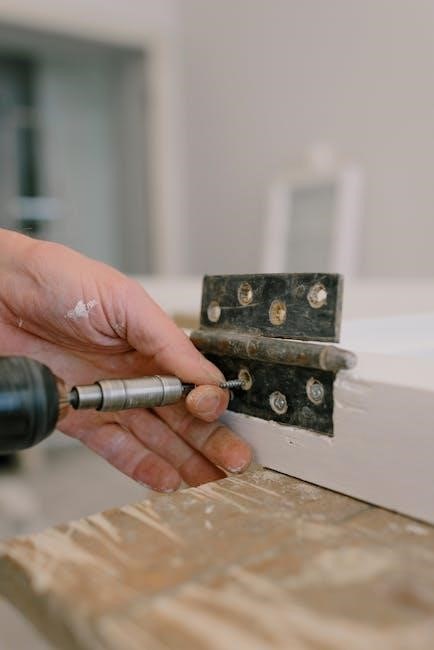
5․1 Mounting the Wallplate
Mounting the wallplate is the first step in installing your Honeywell Pro 3000 thermostat․ Ensure the surface is level and clean․ Remove the wallplate by gently pulling it from the bottom․ Position it on the wall, aligning the holes with the screws provided․ Insert the screws and tighten them firmly, ensuring the wallplate is flush against the wall․ Avoid over-tightening to prevent damage․ Once secured, the wallplate should be level and stable, ready for the next steps․
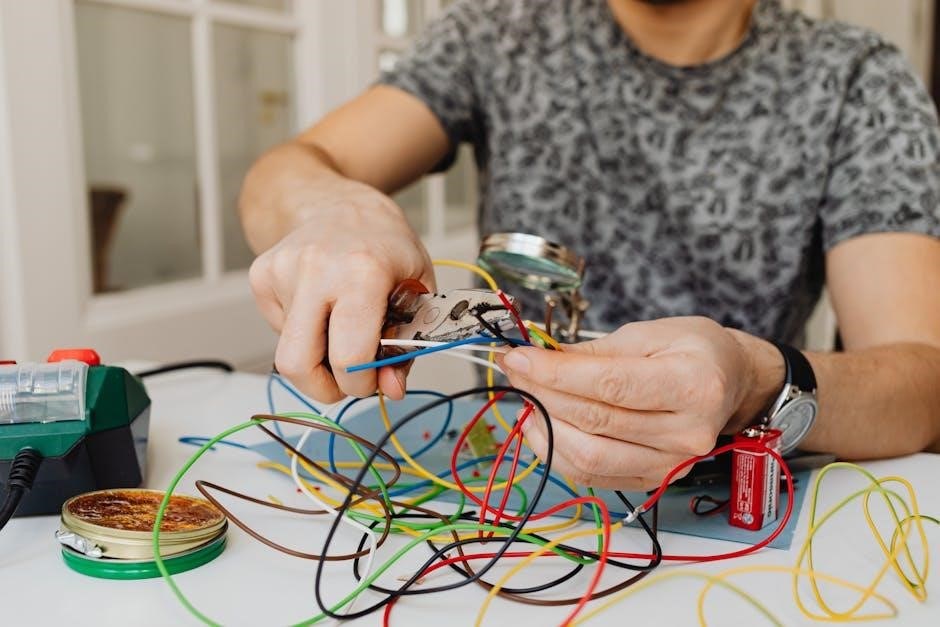
5․2 Connecting the Wires
Connecting the wires is a critical step in the installation process․ First, ensure the power to your HVAC system is turned off at the circuit breaker․ Identify the wires from your existing system and match them to the corresponding terminals on the Honeywell Pro 3000 wallplate․ Typically, wires are labeled as R (red), W (white), Y (yellow), G (green), and C (common)․ Carefully insert each wire into its designated terminal, ensuring a secure connection․ Avoid forcing wires, as this could damage the terminal or the wire itself․ Once all wires are connected, double-check your work to ensure accuracy before proceeding․
5․3 Configuring the Thermostat Settings
After connecting the wires, configure the thermostat settings by pressing the “Menu” button․ Use the navigation keys to set the date, time, and temperature preferences․ Select your desired temperature range for both heating and cooling modes․ Ensure the thermostat is set to the correct operating mode (Heat/Cool/Off)․ If your system supports multiple stages, configure them according to your HVAC setup․ Save your settings to complete the configuration․ Refer to the on-screen prompts for additional options, such as scheduling or smart home integration, to tailor the thermostat to your needs․
Powering Up the Thermostat
Powering up involves inserting fresh AA alkaline batteries, ensuring correct polarity․ The thermostat activates automatically, displaying settings for configuration․ Follow on-screen prompts to complete initialization․
6․1 Installing Batteries
To power the Honeywell Pro 3000 thermostat, remove the battery compartment located on the back․ Insert two fresh AA alkaline batteries, ensuring correct polarity as indicated․ Replace the compartment securely․ The thermostat’s display will illuminate, confirming successful installation․ Avoid using damaged or weak batteries to ensure proper functionality․ This step is essential for the thermostat to operate correctly and maintain settings․ Proper battery installation ensures reliable performance and prevents potential issues during operation․
6․2 Initial Power-On Sequence
After installing the batteries, the Honeywell Pro 3000 thermostat will power on automatically․ The display will illuminate, showing a welcome message followed by a brief self-test sequence․ During this process, the thermostat will check its internal systems and connections․ Once the self-test is complete, the thermostat will prompt you to begin the initial setup process․ This sequence ensures the device is functioning correctly and ready for configuration․ Follow the on-screen instructions to proceed with setting up your thermostat․
Initial Setup and Configuration
After powering on, navigate through the menu to set basic preferences and configure the thermostat for your HVAC system․ This step ensures proper operation․
7․1 Setting the Date and Time
To ensure accurate scheduling and operation, set the date and time on your Honeywell Pro 3000 thermostat․ Access the menu by pressing the center button, then use the arrow keys to navigate to the date and time settings․ Enter the current date in MM/DD/YYYY format and the time in HH:MM format using the numeric keypad․ Confirm your selections to save․ This step is crucial for proper thermostat operation and scheduling functionality․ Ensure the time zone is also correctly set for your location․ This ensures all programmed settings align with your daily routine․ Proper date and time settings are essential for maintaining accurate temperature control and energy efficiency․
7․2 Configuring Temperature Settings
Configure temperature settings on your Honeywell Pro 3000 thermostat to optimize comfort and energy efficiency․ Navigate to the temperature settings menu and adjust the desired temperature ranges for heating and cooling․ Set the minimum and maximum temperatures to maintain a consistent indoor climate․ These settings ensure your HVAC system operates efficiently while meeting your comfort needs․ Proper configuration helps balance energy usage and performance, making it easier to manage your home’s temperature effectively throughout the day․
Testing the Thermostat
Test the Honeywell Pro 3000 thermostat to ensure proper functionality․ Verify heating and cooling operations, and check system responses to temperature changes․ This confirms correct operation and performance․
8․1 Verifying Heating and Cooling Operations
To ensure the Honeywell Pro 3000 thermostat functions correctly, verify heating and cooling operations․ Set the thermostat to “Heat” mode and check if the heating system activates․ Similarly, switch to “Cool” mode to confirm the cooling system operates․ Monitor the thermostat display to ensure it accurately reflects temperature changes․ Verify that the system responds appropriately to adjustments․ If the system does not activate, review the wiring connections and settings․ Proper operation ensures your home maintains consistent comfort levels․ This step is crucial for confirming successful installation and functionality․
8․2 Checking System Responses
After verifying heating and cooling operations, check the system’s responses to temperature adjustments․ Ensure the HVAC system activates promptly when temperature changes․ Observe the system’s operation over time to ensure consistent responses․ If the system doesn’t respond, check wiring and connections․ Verify consistent temperature maintenance․ If issues persist, consult the troubleshooting guide or contact Honeywell support․ Proper responses ensure optimal performance and comfort․ This step confirms the thermostat’s effective control over your HVAC system, aligning with the Honeywell Pro 3000’s design for reliable and efficient temperature management․
Advanced Features
The Honeywell Pro 3000 offers advanced features like scheduling capabilities and smart home integration, enhancing convenience and energy efficiency․ These features allow seamless control and customization․
9․1 Scheduling Capabilities
The Honeywell Pro 3000 thermostat offers robust scheduling features, allowing you to customize temperature settings for different times of the day and week․ This feature ensures optimal comfort and energy efficiency by automatically adjusting temperatures when you’re away or sleeping․ With a user-friendly interface, you can set up to four daily schedules and apply them across seven days․ The thermostat also supports holiday scheduling, enabling you to override settings temporarily․ These capabilities make it easy to tailor your heating and cooling preferences to your lifestyle, ensuring energy savings without compromising comfort․
9․2 Smart Home Integration
The Honeywell Pro 3000 thermostat seamlessly integrates with smart home systems, enhancing your home automation experience․ Compatible with platforms like Resideo’s Total Connect Comfort, it allows remote temperature control via smartphones or tablets․ Voice control through Amazon Alexa or Google Assistant is also supported, enabling hands-free adjustments․ This integration ensures effortless management of your home’s climate, optimizing comfort and energy savings․ By connecting your thermostat to your smart home ecosystem, you can enjoy advanced features and real-time monitoring for a smarter living experience․
Maintenance and Troubleshooting
This section provides essential maintenance tips and troubleshooting guides to ensure your Honeywell Pro 3000 thermostat operates efficiently․ Regular checks and addressing common issues promptly will extend its lifespan and maintain optimal performance․ Refer to this manual for detailed solutions or contact Honeywell support for assistance․
10․1 Regular Maintenance Tips
Regular maintenance ensures your Honeywell Pro 3000 thermostat operates efficiently․ Clean the thermostat regularly to remove dust and debris, which can affect performance․ Check the batteries every six months and replace them as needed to prevent interruptions․ Ensure the display screen is free from smudges for clear visibility․ Verify that all wire connections are secure and properly insulated․ Additionally, maintain a stable room temperature and humidity level to prolong the device’s lifespan․ Refer to the manual for detailed maintenance schedules and procedures․
10․2 Common Issues and Solutions
If your Honeywell Pro 3000 thermostat displays a blank screen, ensure batteries are installed correctly and fresh․ For temperature inaccuracies, check sensor calibration and wiring connections․ If the thermostat is unresponsive, perform a factory reset by removing batteries for 10 seconds․ Addressing these common issues promptly ensures optimal performance․ Always refer to the troubleshooting section in the manual for detailed solutions and guidance․ Regular maintenance can prevent many of these issues from occurring in the first place, ensuring reliable operation year-round․

Warranty and Support Information
Your Honeywell Pro 3000 thermostat is backed by a 5-year limited warranty․ For support, contact Honeywell’s customer service via phone or visit their official website for online resources and assistance․
11․1 Warranty Details
The Honeywell Pro 3000 thermostat is covered by a 5-year limited warranty, ensuring protection against defects in materials and workmanship․ This warranty applies to the original purchaser and requires installation by a licensed professional․ Coverage includes repair or replacement of defective parts during the warranty period․ For specific terms and conditions, refer to the warranty documentation provided with your thermostat․ Proper registration of your product on Honeywell’s official website is recommended to activate and maintain warranty benefits․ This warranty underscores Honeywell’s commitment to quality and customer satisfaction․
11․2 Contacting Honeywell Support
For assistance with your Honeywell Pro 3000 thermostat, Honeywell offers comprehensive customer support․ You can contact their support team via phone at 1-800-468-1502 or visit their official website at www․honeywellhome․com for troubleshooting guides, FAQs, and live chat options․ Additionally, email support is available at customer․support@honeywell․com․ Support is available 24/7 in multiple languages, ensuring prompt resolution of any issues․ For faster assistance, register your product on Honeywell’s website to access personalized support and warranty services․
Congratulations on completing the Honeywell Pro 3000 installation! This manual has guided you through setup, ensuring optimal performance․ Enjoy enhanced comfort and energy efficiency in your home․
12․1 Final Checks
After completing the installation, perform a final check to ensure everything functions correctly․ Verify that the thermostat display is on, and all connections are secure․ Test heating and cooling operations to confirm proper system responses․ Check the set schedules and temperature settings for accuracy․ Ensure the wallplate is firmly mounted, and all wires are properly connected․ Review the manual for any additional recommendations․ Once satisfied, your Honeywell Pro 3000 thermostat is ready for everyday use․ If issues arise, refer to the troubleshooting section for guidance․
12․2 Enjoying Your Honeywell Pro 3000 Thermostat
Congratulations on successfully installing your Honeywell Pro 3000 thermostat! With proper setup, you can now enjoy precise temperature control, enhanced energy efficiency, and seamless comfort in your home․ Take advantage of features like scheduling and smart home integration to tailor your experience․ Regularly maintain your thermostat by cleaning the display and updating settings as needed․ Explore advanced features to optimize performance and convenience․ Your Honeywell Pro 3000 is designed to provide long-lasting reliability and comfort, ensuring your home stays perfect year-round․