Welcome to the T6 Pro Installation Manual. This guide provides comprehensive instructions for installing the Honeywell T6 Pro programmable thermostat, ensuring optimal performance and energy efficiency. Designed for HVAC professionals and homeowners, the T6 Pro offers advanced features like geofencing and Wi-Fi connectivity. Proper installation is crucial for maximizing its benefits, and this manual will walk you through every step.
Overview of the T6 Pro Thermostat
The Honeywell T6 Pro is a programmable thermostat designed for energy efficiency and smart home integration. It features geofencing, Wi-Fi connectivity, and compatibility with 10K Ohm floor sensors. With a large, backlit display and advanced temperature control modes, the T6 Pro offers flexibility and convenience for both homeowners and HVAC professionals, ensuring precise climate management.
Importance of Proper Installation
Proper installation of the T6 Pro thermostat ensures optimal performance, energy efficiency, and system reliability. Incorrect wiring or setup can lead to malfunctions, inaccurate temperature control, and potential damage to your HVAC system. Following the manual’s instructions carefully is crucial to avoid these issues and maintain warranty validity, ensuring your thermostat functions as intended for years to come.
Target Audience (Homeowners, HVAC Technicians)
This manual is designed for both homeowners and HVAC professionals. Homeowners will find clear, step-by-step instructions to ensure proper installation and operation. HVAC technicians can utilize advanced setup options and troubleshooting guides to optimize system performance. The guide caters to all skill levels, providing a comprehensive resource for installing and configuring the T6 Pro thermostat effectively.
System Requirements and Compatibility
The T6 Pro thermostat is compatible with most HVAC systems, requires standard voltage, and supports 10K Ohm floor temperature sensors for precise control and energy efficiency.
Compatibility with HVAC Systems
The T6 Pro thermostat is designed to work seamlessly with a wide range of HVAC systems, including forced air, heat pumps, and hydronic systems. Its universal design ensures compatibility with most heating and cooling configurations, making it a versatile choice for various home setups. Proper installation ensures optimal performance across all supported systems.
Voltage and Power Requirements
The T6 Pro thermostat requires a 24V AC power supply and a common (C) wire for proper operation. Ensure your HVAC system meets these voltage requirements to avoid damage or malfunction. The thermostat is designed for low-voltage systems, making it compatible with most modern HVAC setups. Always verify system voltage before installation.
Compatibility with 10K Ohm Floor Temperature Sensors
The T6 Pro thermostat is compatible with 10K ohm floor temperature sensors, such as the AC112-01 model. This sensor should be installed mid-floor for accurate temperature sensing. Ensure proper installation to avoid false readings. This setup ensures precise control over your heating system, optimizing comfort and energy efficiency.

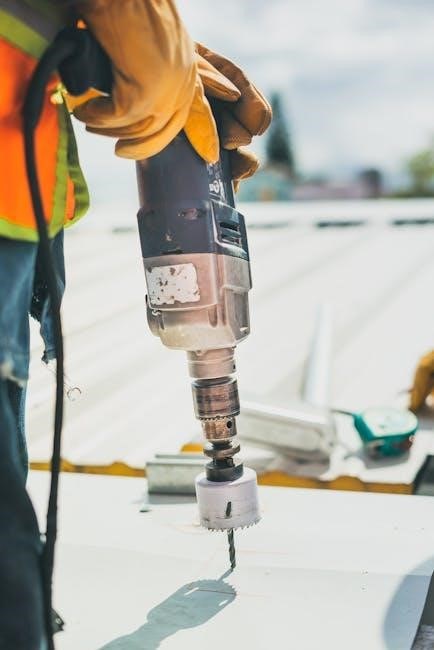
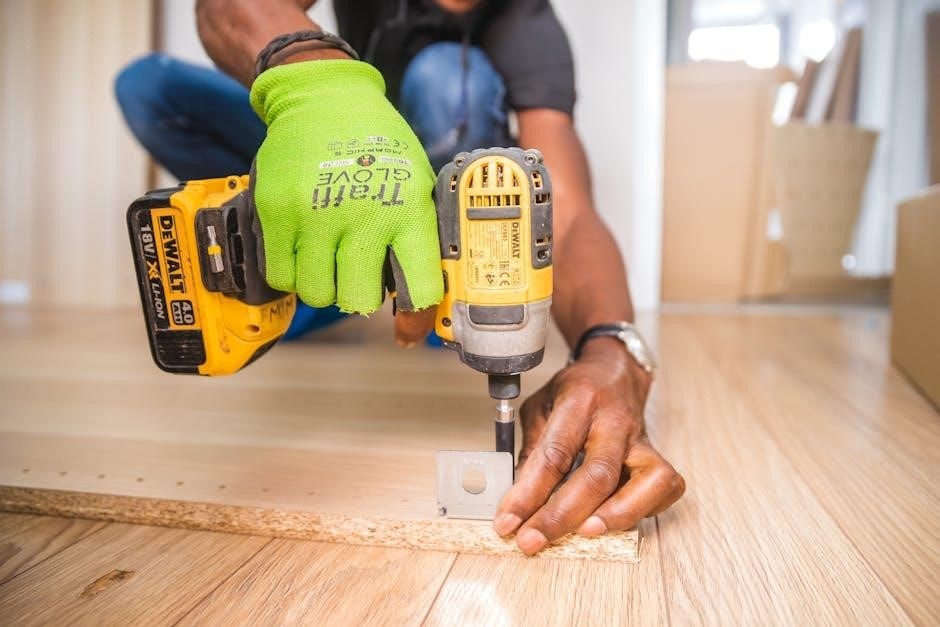
Tools and Materials Needed
A drill, screwdrivers, pliers, and wire strippers are essential. A level ensures proper mounting. Required materials include the UWP, screws, and anchors. A decorative cover plate is optional.
Essential Tools for Installation
A drill, screwdrivers (Phillips and flathead), pliers, wire strippers, and a level are necessary. A voltage tester ensures safety. Additional tools like wire nuts or connectors may be required for specific setups. Always refer to the manual for compatibility and safety guidelines during the installation process of the T6 Pro thermostat.
Required Materials for Mounting
The T6 Pro installation requires the Universal Wall Plate (UWP), screws, and wall anchors. A decorative cover plate is optional for aesthetic purposes. Ensure all materials are compatible with your wall type. The UWP must be level and securely fastened to guarantee proper thermostat mounting and functionality. Compatibility with existing HVAC systems is essential.
Optional Accessories (Decorative Cover Plate)
The decorative cover plate is an optional accessory for the T6 Pro thermostat, designed to enhance aesthetics. It covers paint gaps from previous installations or mounts directly to an electrical junction box. Sized at 4-49/64 inches, it ensures a seamless fit. This accessory is ideal for maintaining a clean and modern appearance while protecting the wall surface.
Pre-Installation Steps
Pre-installation steps ensure a smooth setup. Power off the HVAC system, remove the old thermostat, and label wires for easy identification. Prepare the site by leveling and marking the wall for the Universal Wall Plate (UWP).
Preparing the Installation Site
Ensure the installation site is clear of obstructions and debris. Level the wall and mark the area for the Universal Wall Plate (UWP). Clean the wall surface thoroughly to ensure proper mounting. Verify all tools and materials are within reach. Inspect the area for any damage or irregularities before proceeding.
Powering Off the HVAC System
Switch off the HVAC system at the circuit breaker or main electrical panel. Verify the system is completely powered down using a voltage tester. Ensure all components are cool before starting the installation. This step is crucial for safety and prevents any accidental start-ups during the process.
Removing the Old Thermostat
Switch off power to the HVAC system at the circuit breaker. Gently pull the old thermostat away from the wall, taking care not to damage wires. Disconnect wires one by one, noting their connections. Remove any remaining hardware or adhesive. Store wires safely to avoid tangling or damage during the replacement process.
Labeling Wires for Easy Identification
Use a label maker or color-coded stickers to identify each wire according to its function. This ensures correct connections and prevents mismatches during installation. Take photos or note the wire configurations for reference. This step is essential for aligning with the T6 Pro’s terminal design and ensuring accurate connections.
Installation Process
Mount the Universal Wall Plate (UWP) level on the wall, attach the T6 Pro thermostat, and connect wires according to the terminal labels. Snap the thermostat onto the UWP, ensuring a secure fit. Double-check all connections and alignments before powering on the system.
Mounting the Universal Wall Plate (UWP)
Begin by positioning the UWP on the wall, ensuring it is level; Mark the hole positions, drill pilot holes, and secure the plate using provided anchors. Align the UWP with the junction box if applicable. Verify the plate is flush and evenly mounted to ensure proper thermostat attachment and system functionality.
Connecting Wires to the T6 Pro Thermostat
Connect the wires from your HVAC system to the T6 Pro thermostat terminals, ensuring correct labeling and matching. Use the Honeywell Home app or installation guide for reference. Securely attach each wire to its corresponding terminal, verifying proper connections. Note: Slider Tabs for U terminals should remain in place for T6 Pro models. Tighten firmly.
Attaching the Thermostat to the UWP
Mount the T6 Pro thermostat onto the Universal Wall Plate (UWP) by aligning the back of the thermostat with the UWP’s top hook. Gently snap the bottom of the thermostat into place, ensuring a secure fit. Verify the thermostat is level and evenly attached for proper functionality and aesthetics.
Final Checks Before Powering On
Verify all wire connections are secure and properly connected. Ensure the thermostat is aligned correctly with the UWP and is level. Check that the UWP is flush against the wall and the thermostat is firmly seated. Inspect for any visible damage or issues. Review the manual for specific instructions before powering on.
Configuration and Setup
Configure the T6 Pro by setting basic options like temperature modes (A, AF, F) and advanced installer settings (ISU). Use the Honeywell Home app for Wi-Fi integration and geofencing features, ensuring a seamless smart home experience with customizable schedules and energy-saving settings.
Basic Setup Options
The T6 Pro thermostat offers straightforward basic setup options, including setting temperature modes (A, AF, F), time format (12/24-hour), and temperature units (°F/°C). Users can also configure basic schedules and temperature limits. Navigate through the menu using the touchscreen interface and ensure all settings align with your HVAC system requirements. Save preferences to complete the initial setup.
Advanced Installer Setup (ISU)
The Advanced Installer Setup (ISU) allows technicians to configure detailed parameters for the T6 Pro thermostat. Key options include setting temperature control modes (A, AF, F), enabling floor sensor inputs, and adjusting system type (heat-only, cool-only, or heat-pump). Access ISU via the menu and refer to the Honeywell Home app for remote configuration capabilities.
Setting Temperature Control Modes (A, AF, F)
The T6 Pro offers three temperature control modes: A (heat-only), AF (heat and cool with fan), and F (forced air systems). Access these modes via the Installer Setup (ISU) menu or the Honeywell Home app. Mode selection ensures compatibility with your HVAC system type, optimizing performance and energy efficiency. Refer to the ISU guide for detailed configuration steps.
Integrating with the Honeywell Home App
Download the Honeywell Home app from the App Store or Google Play. Create an account or log in to add your T6 Pro thermostat. Connect it to your Wi-Fi network and access advanced features like geofencing, temperature control, and system checks. The app also enables remote monitoring and control, enhancing your smart home experience.
Testing and Troubleshooting
Test the heating and cooling system to ensure proper operation. Check temperature set points and range stops. Troubleshoot common issues like wiring or sensor malfunctions promptly.
Testing the Heating and Cooling System
Test the heating and cooling system to ensure proper operation. Verify the thermostat responds to temperature changes and range stops are set correctly. If issues arise, inspect wiring and sensor accuracy. Address any malfunctions promptly to maintain efficiency. Refer to the troubleshooting section for solutions.
Setting Range Stops (Temperature Limits)
Set range stops to establish minimum and maximum temperature limits for heating and cooling. These settings prevent extreme temperatures and ensure system efficiency. Access the Installer Setup (ISU) menu to configure range stops. Adjust the parameters to match your comfort preferences. Refer to the manual for detailed steps to configure these settings correctly.
Troubleshooting Common Issues
Common issues include no power to the thermostat, incorrect wiring, or sensor malfunctions. Check electrical connections and ensure wires are securely attached. Verify sensor installations and test system functionality. Consult the manual for detailed troubleshooting steps or contact Honeywell support for assistance. Regular maintenance and software updates can help prevent recurring issues.
Safety and Maintenance
Always turn off power before installation. Follow safety guidelines to avoid electrical hazards. Regularly clean the thermostat and check for software updates to ensure optimal performance.
Safety Precautions During Installation
Always turn off the HVAC system’s power at the circuit breaker before starting installation. Avoid touching electrical components or wires without proper tools. Follow the enclosed instructions carefully to prevent hazards. Ensure the system is properly grounded and all connections are secure to avoid malfunctions or electrical risks.
Regular Maintenance Tips
Regularly clean the thermostat display and sensors to ensure accurate temperature readings. Update the software and firmware periodically for optimal performance. Check and tighten all wire connections to prevent issues. Inspect the Universal Wall Plate (UWP) for proper alignment and secure mounting. Replace batteries (if applicable) as recommended to maintain functionality.
Updating Software and Firmware
Regularly update the T6 Pro thermostat’s software and firmware to access new features and improvements. Use the Honeywell Home app to check for updates and follow on-screen instructions. Ensure the thermostat is connected to Wi-Fi before starting the update process. Avoid interrupting the update to prevent potential issues or malfunctions.
Warranty and Support
The T6 Pro thermostat is backed by a comprehensive warranty. For details, visit Honeywell’s official website. Support is available through the Honeywell Home app or customer service.
Warranty Information
The Honeywell T6 Pro thermostat is backed by a comprehensive warranty. It typically includes a 5-year limited warranty covering parts and labor. For warranty service, contact Honeywell’s customer support team. Ensure proper installation by a certified HVAC technician to maintain warranty validity. Refer to the official Honeywell website for detailed terms and conditions.
Contacting Customer Support
For assistance with the T6 Pro thermostat, contact Honeywell’s customer support team. Visit the official Honeywell website or call their support hotline for troubleshooting and inquiries. Additionally, the Honeywell Home app provides resources and direct access to support. Representatives are available to help with installation, programming, and resolving any issues you may encounter.
Online Resources and Manuals
Access the Honeywell Home app or official website for T6 Pro resources. Download manuals, guides, and software updates. Visit the support section for troubleshooting tips and detailed installation instructions. The app also offers tutorials and setup guides to help you configure your thermostat effectively. Ensure you have the latest version for optimal performance.

Appendices
The appendices provide key information, including technical specifications, a glossary of terms, and supplementary details to support the installation and maintenance of the T6 Pro thermostat system.
Technical Specifications
The T6 Pro is a programmable Wi-Fi thermostat compatible with most HVAC systems, including 10K Ohm floor sensors. It features a 5.44-inch backlit display, geofencing capabilities, and energy-saving modes. Operating on 24V AC, it supports temperature ranges of 32°F to 90°F (cooling) and 32°F to 90°F (heating). The device integrates seamlessly with the Honeywell Home app for remote control and scheduling, ensuring efficient temperature management and energy savings.
Glossary of Terms
Geofencing: Location-based temperature adjustment. HVAC: Heating, Ventilation, and Air Conditioning systems. UWP: Universal Wall Plate for mounting. 10K Ohm Sensor: Measures floor temperature. Installer Setup (ISU): Advanced configuration options. Honeywell Home App: Remote thermostat control and scheduling.
The T6 Pro installation is now complete. Proper setup ensures optimal performance and energy efficiency. Follow the guidelines for best results and refer to the manual for any issues that may arise.
Final Thoughts on Installation
The T6 Pro installation process is straightforward when following the manual. Ensure all steps are executed carefully to avoid errors. Proper setup guarantees optimal functionality and energy savings. Double-check connections and configurations before powering on. If unsure, consulting a professional is recommended to ensure safety and efficiency.
Encouragement to Follow Guidelines
Adhering to the T6 Pro installation manual ensures a seamless and safe setup. By following the outlined steps, you’ll achieve optimal performance and energy efficiency; Take your time, and don’t hesitate to seek professional assistance if needed. Proper installation guarantees reliability, comfort, and long-term savings. Your attention to detail will pay off in the end.